
Hey friends!
It’s been a minute, but things have been busy around these parts! Lots of back to school excitement, activities, and enjoying the end of summer have been keeping my busy from dawn until midnight. I have been able to just keep up with creating for others and myself, and the blog always seems to get pushed to the end of my to-do list! I am so excited to finally sit down and get these thoughts out – I have been planning this post in my brain for a while.
Some of my most popular posts, and the things I get asked about second most, are my doodle pages! I love sitting and doodling… although I use the word doodle loosely. I love building shapes and patterns. My dad is an engineer and I spent A LOT of time staring at bridges as a child. Seriously, a tremendous amount of time looking at bridges. But, because of that, I have found so much peace in the careful measurement and straight lines of my doodles. (Author’s Note: Do not tell my dad this information.)
I wanted to share a few of my favorite tips that I have discovered as I have created. When I started, I couldn’t figure out why my lines were wiggly and strange. But, I did some careful observing and discovered my first rule of a few structured doodles –
USE A RULER
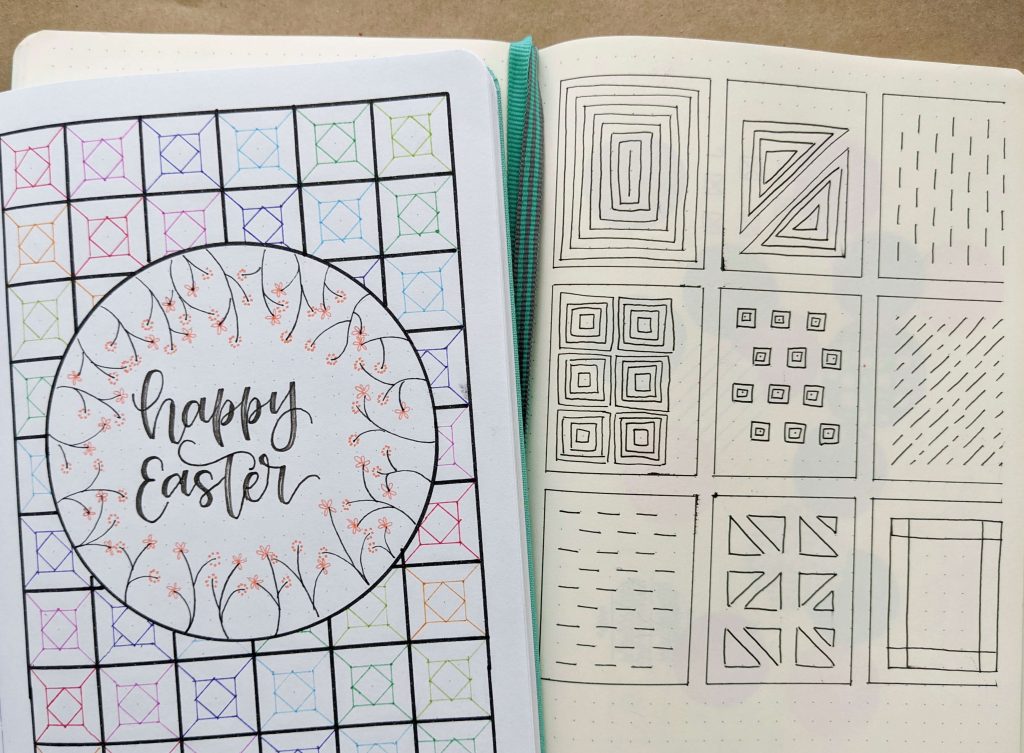
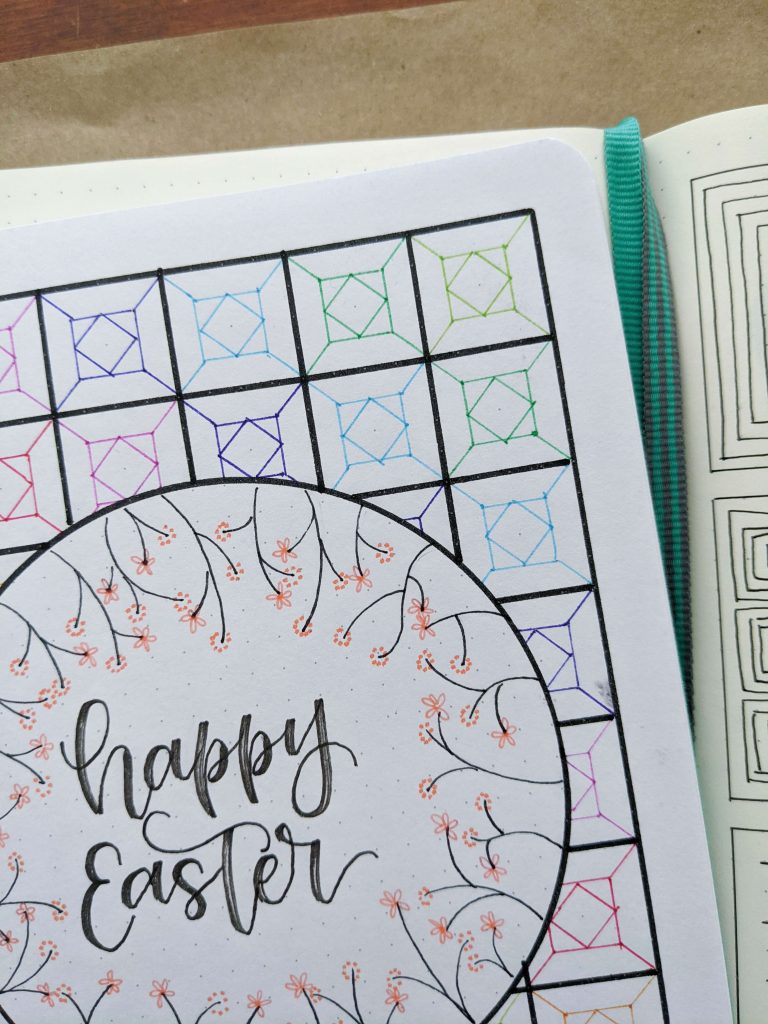
Using a ruler or a straightedge keeps your lines straight… obviously. But it also helps keep your shapes a consistent size! It is really important to keep these little things straight and it makes the whole page look more even. Even for short stretches, using a ruler makes a huge difference. Every time I think I don’t need a ruler, I make a ridiculous mistake. I also think it helps me be more intention about where my lines are placed and following the pattern. The Easter doodles on the left use a ruler, the right doesn’t. And the wiggles really show!
![]()
MAKE A PLAN
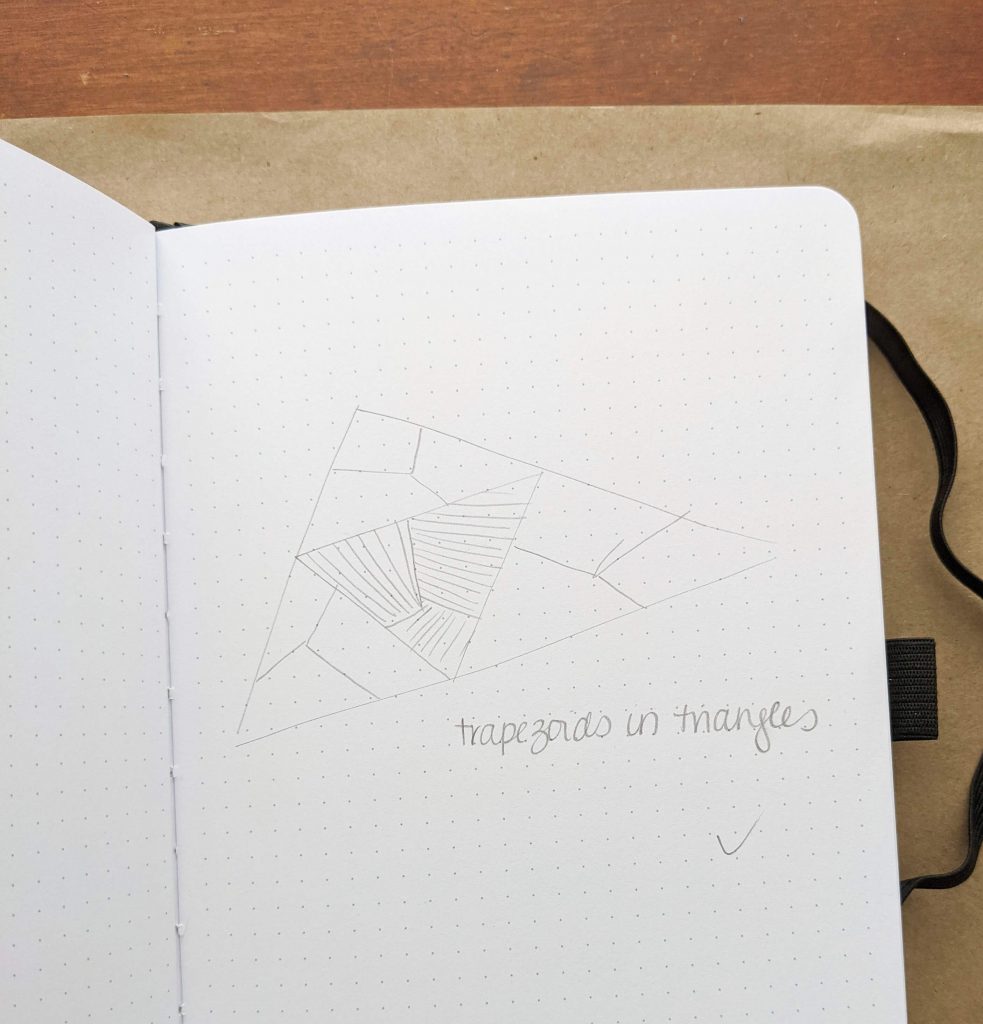
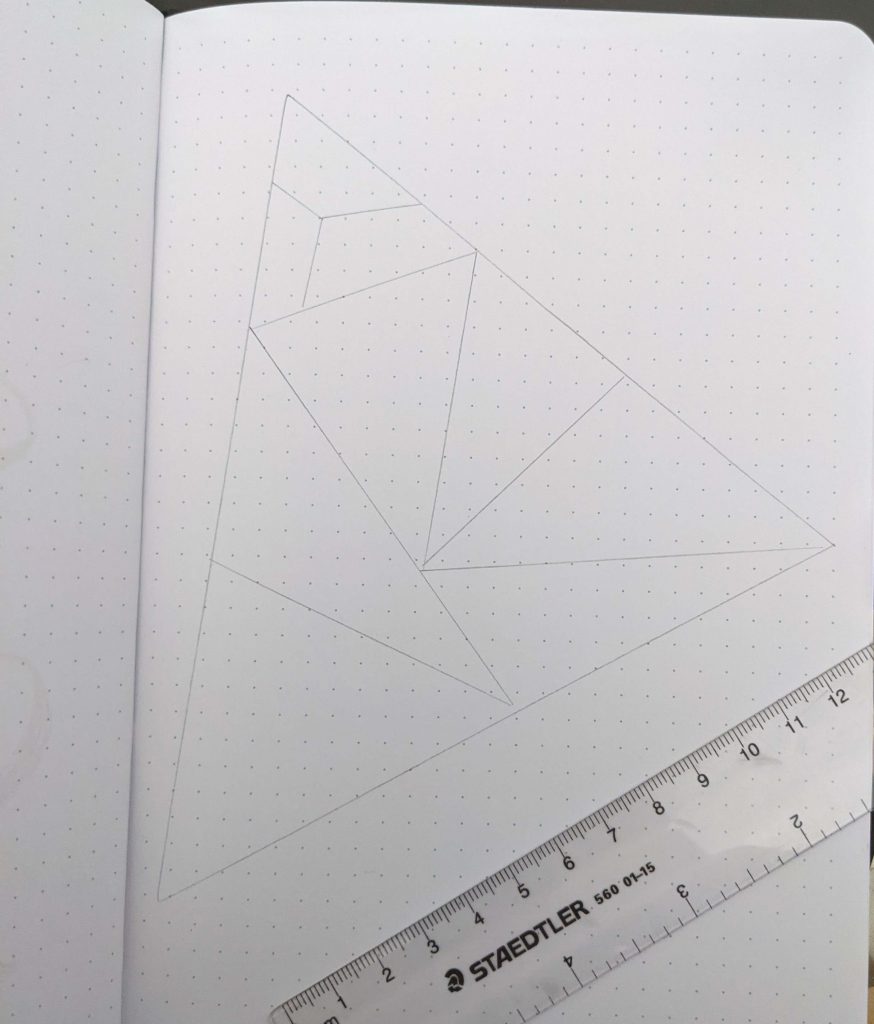
Have a plan or an idea before you get started… I love to create pencil guidelines before I start. I use it to map out the general size, marking off every few lines or blocks. Sometimes, I draw my diagonals or guides with pencil before I get started. I love a super sharp pencil so that my lines are fine (and made with a straightedge) and I can keep them light. I go back in after everything is finished and dried and erase my guidelines with a soft polymer eraser. I love to use Tombow polymer erasers or the Tombow Dustless eraser.
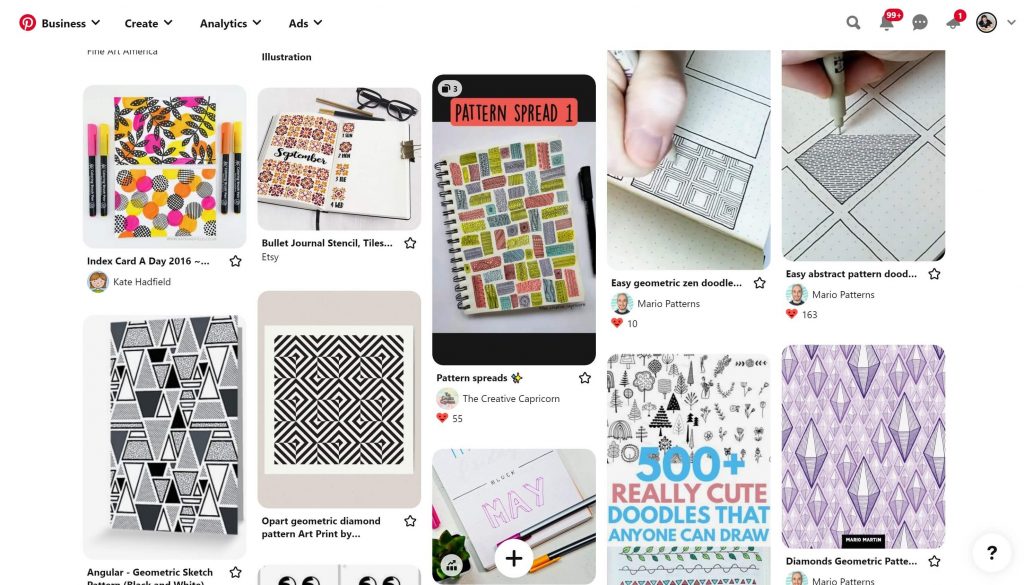
I often find my inspiration for shapes and patterns in the hardware store! I love to find fun and funky tiles or a small carpet. Plus, you can always hit up everyone’s favorite space for internet inspiration – Pinterest. I have a board full of doodle patterns that I can take a snippet from or create a starting place. You can also use quilts, zentangle, and digital backgrounds for inspiration.
PRACTICE SOMEWHERE ELSE FIRST
This is going to sound crazy, but I always practice my patterns somewhere else. I keep a journal of “off-line” inspiration and it is really rough sketches. But, I like to make sure that the pattern is something that I can draw – and I enjoy it. I love a tedious pattern as much as the next girl, but if it is too crazy or small or not fun, I don’t create it.
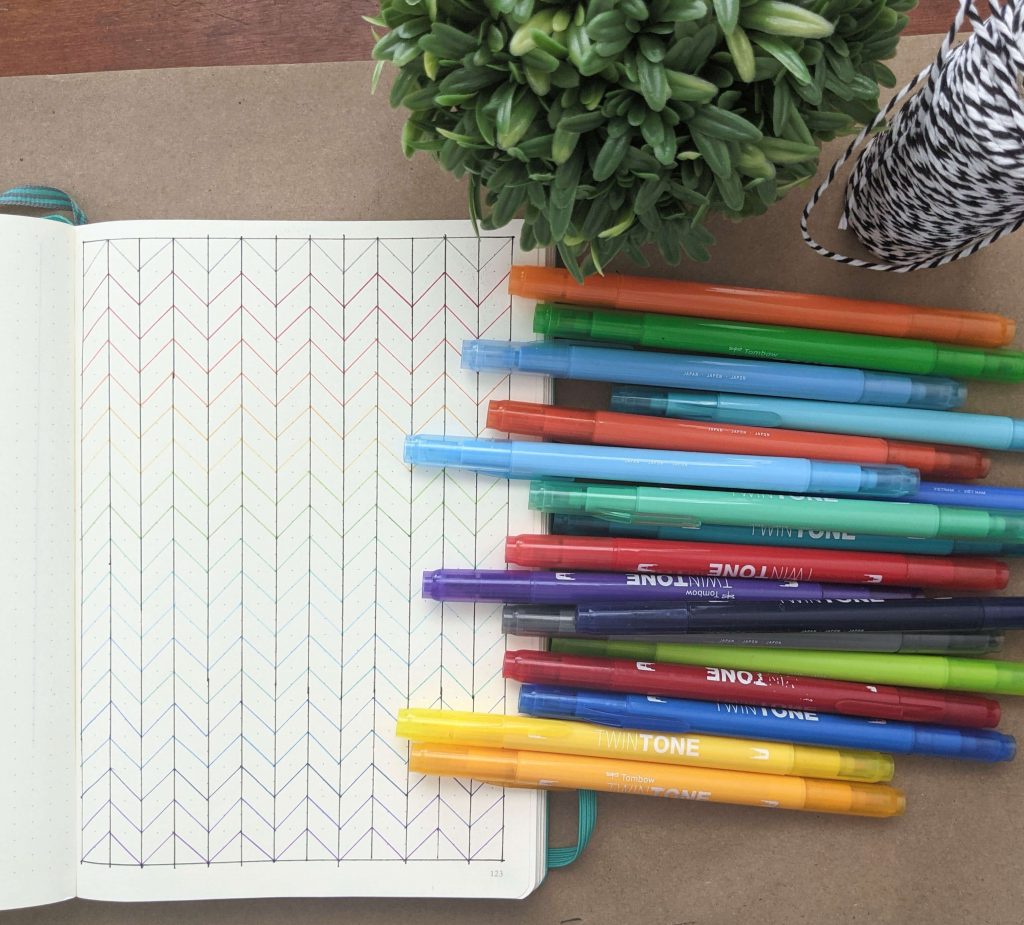
PICK YOUR PEN WISELY
I recommend using a small nibbed pen to create my patterns. My favorites are Tombow TwinTone pens and Stabilos in Point 68 or Point 88 size. I like that the Tombows and the Stabilos have the same colors in a thicker and thinner line which is perfect for mixing and matching lines. I like have a lot of colors to choose from when I am creating, especially when I am creating a rainbow pattern. I also count my blocks and select colors before I start. I grab all my pens, lay them out, and then go ahead and get started with using them. It’s part of having a plan before you get started.
AND YOUR PAPER
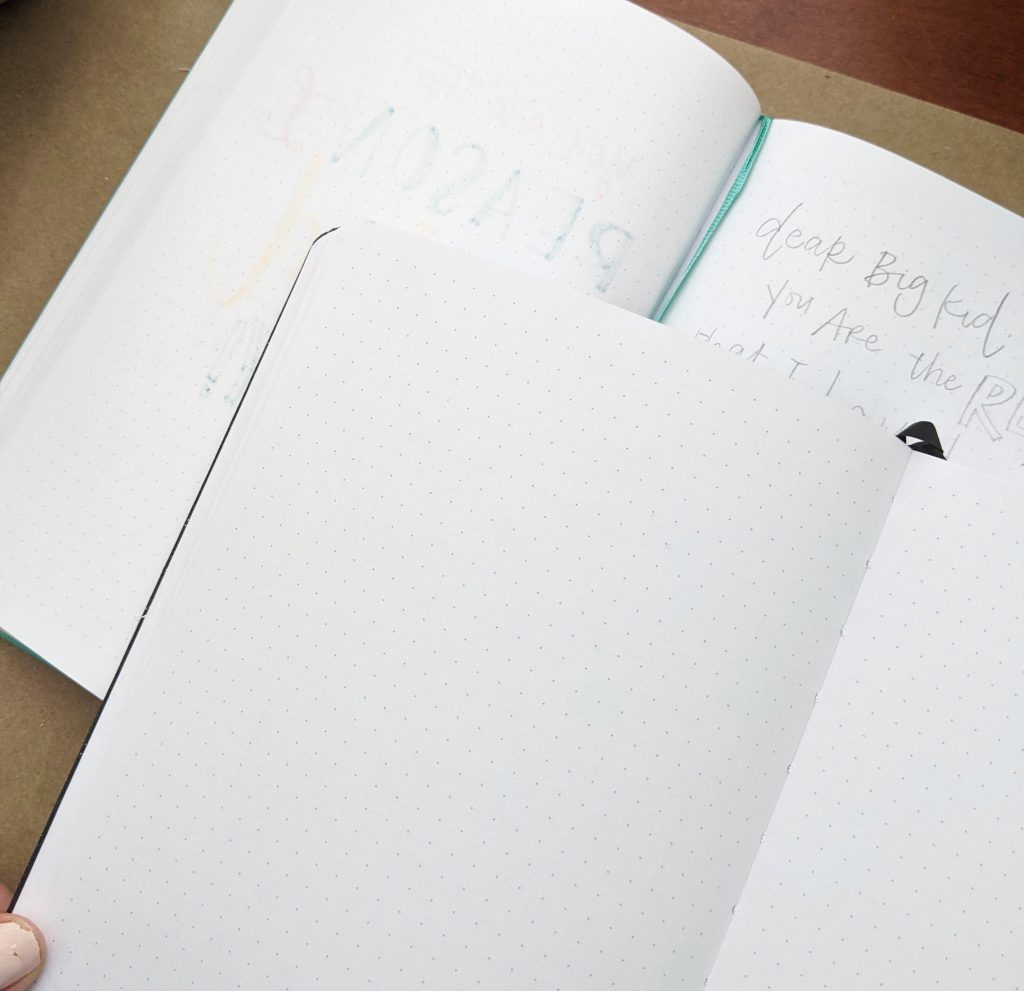
I love a dot grid paper or a lined paper. It has a lot of the work already done for you by giving you gentle guidelines. The dots often don’t show up or appear dramatic in your final draft. There are tons of notebooks and the like around. If you are using nice pens, you want to look for thick, smooth pages to help protect your pen nibs. I love my Moleskin journals for quick things, but my new favorite doodling notebooks are from Archer and Olive. Their pages are insanely thick and smooth and you don’t get any ghosting on the next page! The two pictures show the front and back of a page, both made with Stabilos. One is Archer and Olive… and the other isn’t! Just saying, they are worth the money!
START WITH SIMPLE SHAPES
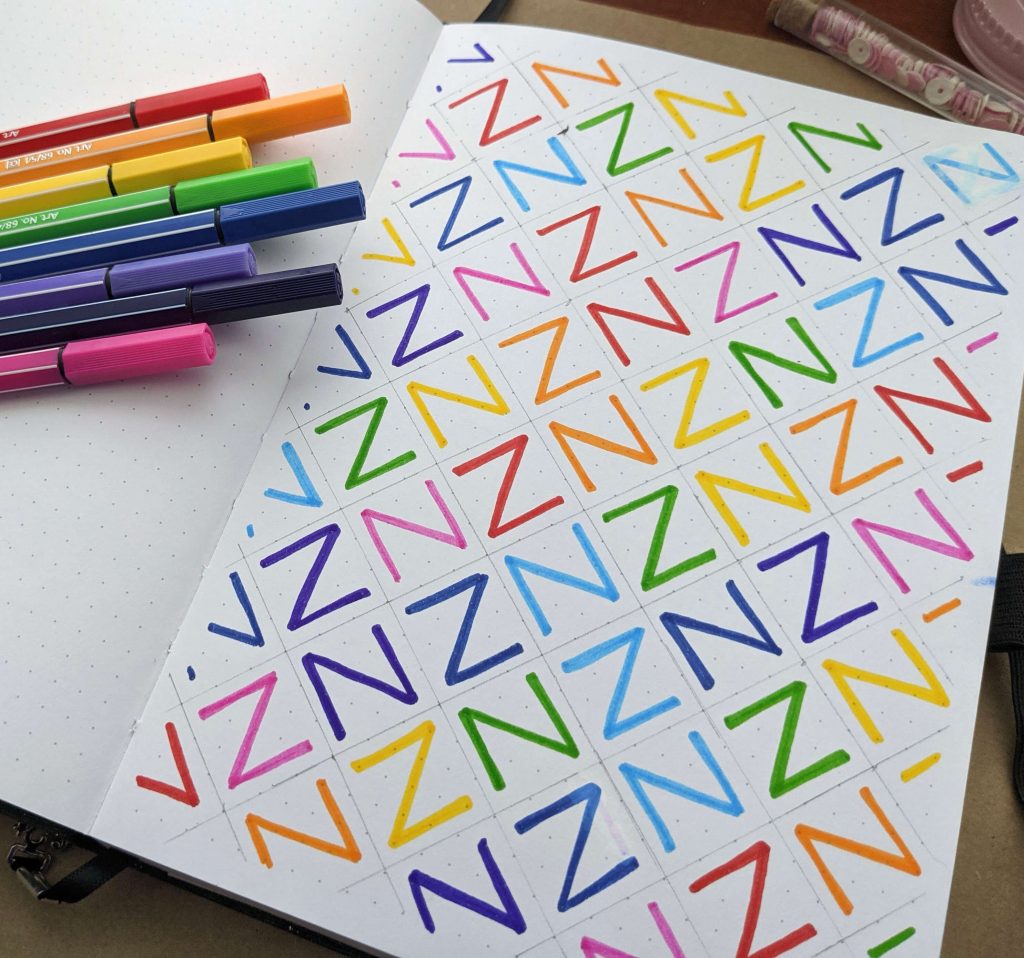
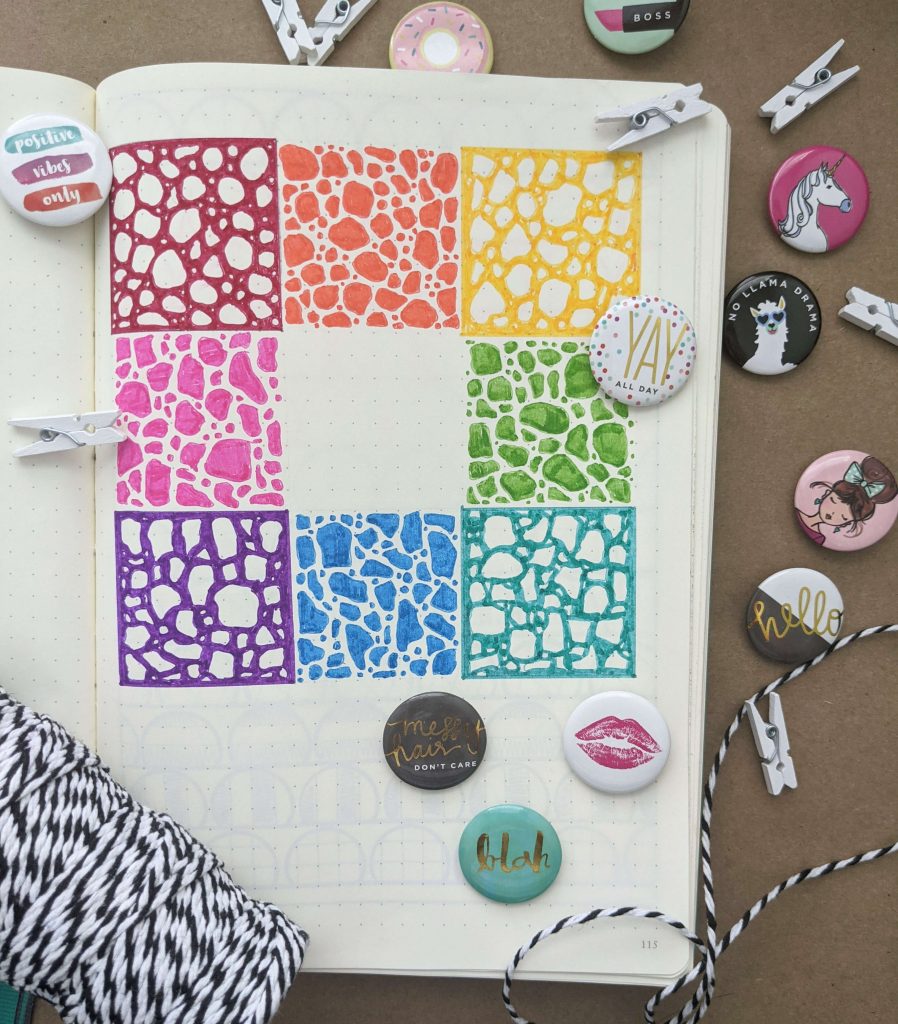
It is really easy to start with simple shapes, like rectangles, squares, and triangles. Then, you can adjust and change the fill to make it look really diverse. You don’t have to change everything on every line, in fact I don’t recommend it, but just changing one thing at a time. I love to adjust color OR pattern OR shape, one line at a time. Otherwise, it starts to look really crazy and unplanned. For this pattern, the only thing changed is the color and which part was colored. It is the same pattern in every single block!
TOOLS MATTER
I have a few tools I like to use from Staedtler! I keep a few triangles, a mini ruler, and a circle maker. I like a smaller ruler and straightedge that fits neatly inside my journal or pencil pouch on the go! They are clear which also helps me line up things with even spacing and gaps.
LEFT TO RIGHT
I also move left to right and counterclockwise when I am creating. It helps me not smudge the ink with my hand, or the ruler. I have been known to smudge wet ink with my ruler when I slide it in a clockwise motion. If you do smudge, I like to use the Tombow Sand Eraser to take the top layer of ink and paper off.
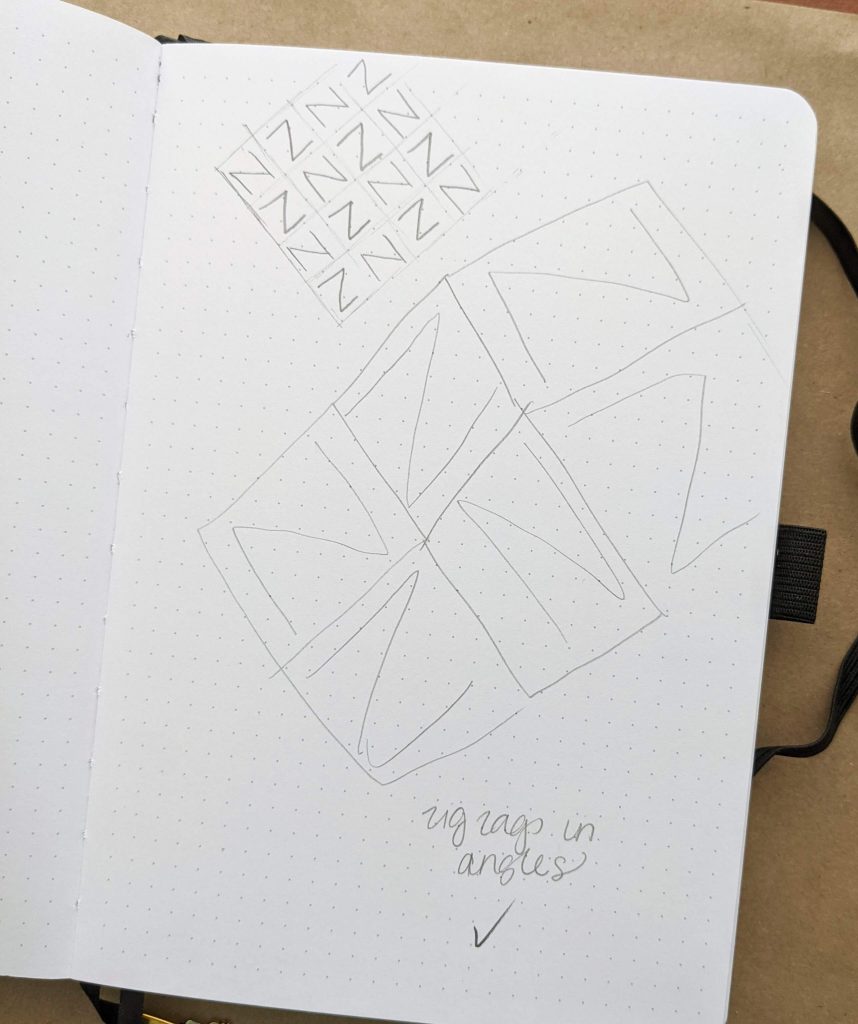
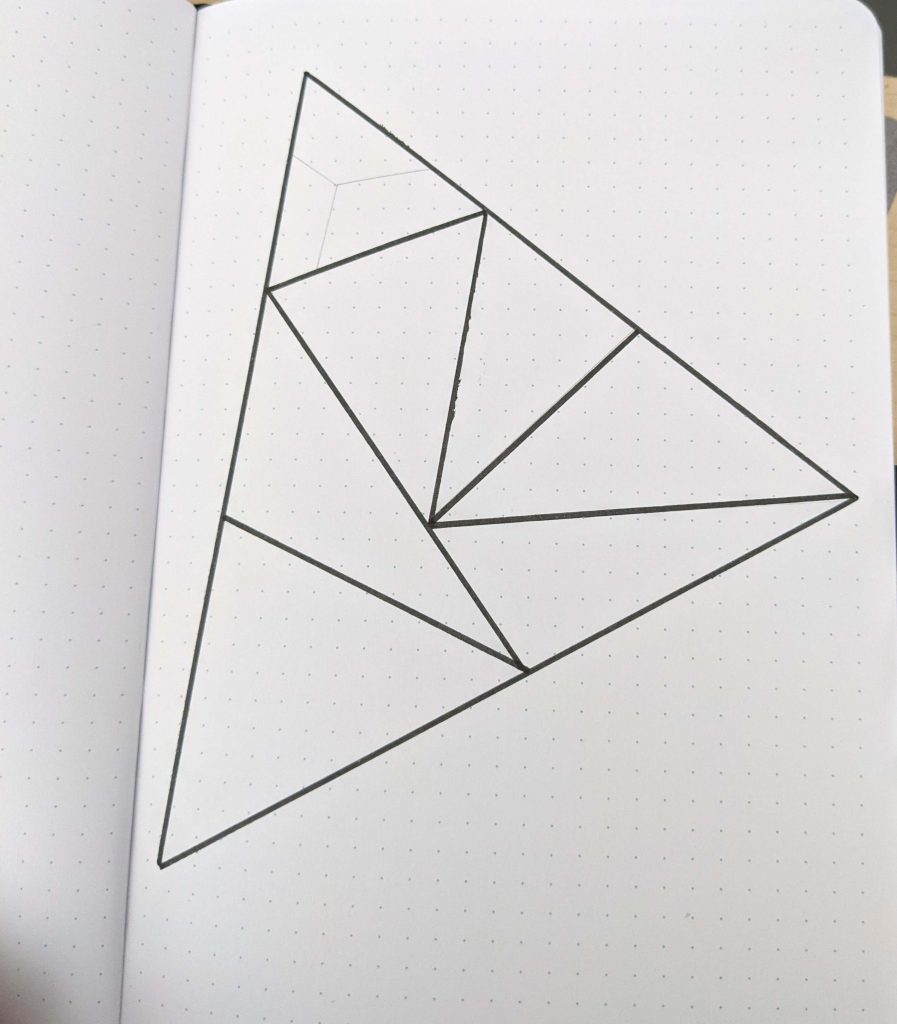
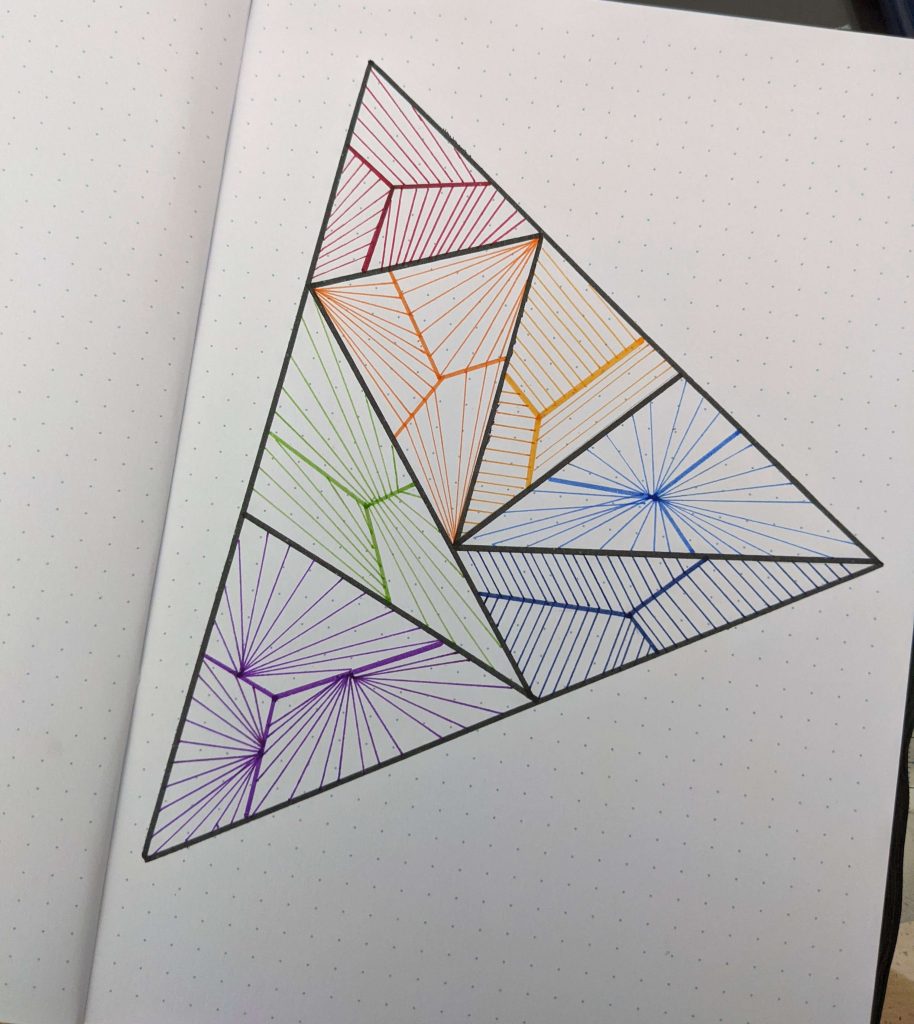
FROM START TO FINISH
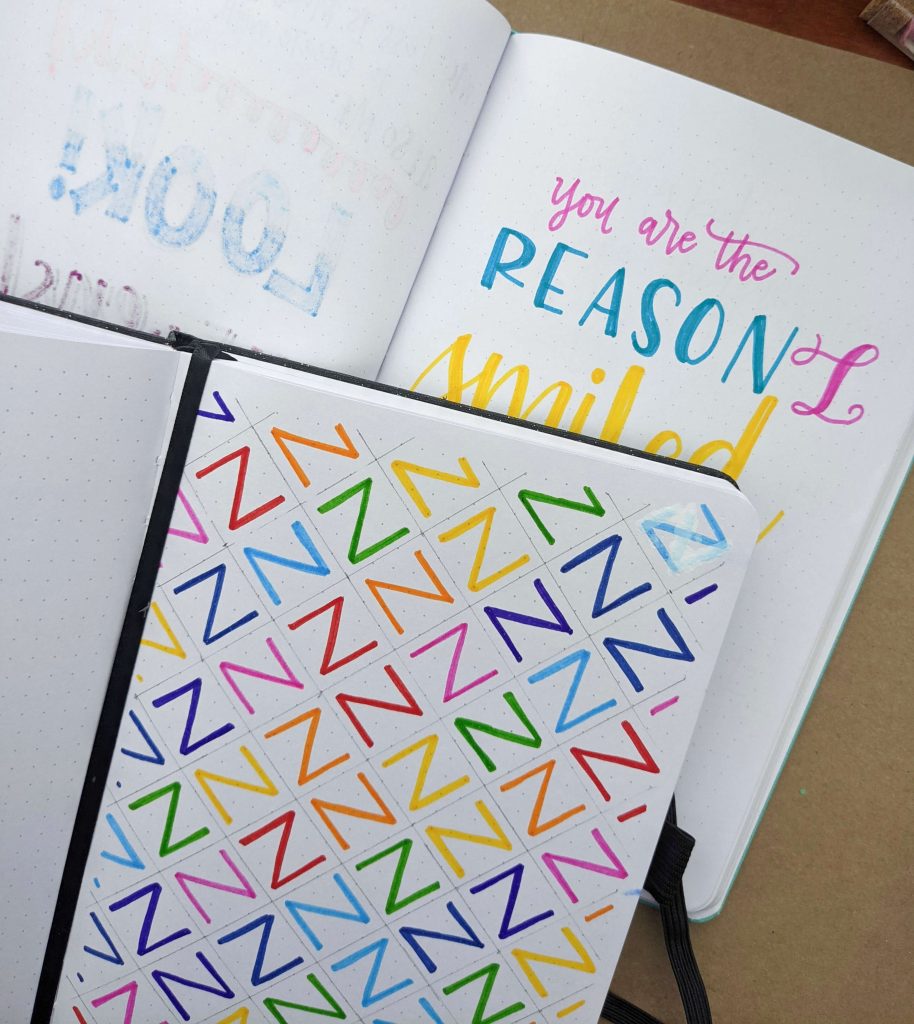
So, lastly, I’m going to take you on a photo journey – from start to finish of one my most recent projects! It started as a sketch, went to pencil and then finished in ink!
![]()
![]()
Do you guys have any questions? Anything I left off that you are dying to know!? Drop me a comment, shoot me an email, or check out my Instagram stories for a Doodle Question Panel today!
Get your letter doodle on!