Sometime last summer, while meandering down the aisles of my local Target, I found these large undated planners. It was a part of the collaboration between Blue Sky and May Designs and was in the clearance section. For a yes-please $3, I got a tear away pad of desk planners. They are about 12 1/2 inches by 16 inches and had a tear away top. I loved how it was big enough to write a real list of to dos and map out my plans for the week. I keep a small planner in my purse and that is full of my comings and goings. This planner, however, is for work and planning out projects. I wasn’t sure if I was going to like it or use it, so I only bought one (big mistake) and took it home.

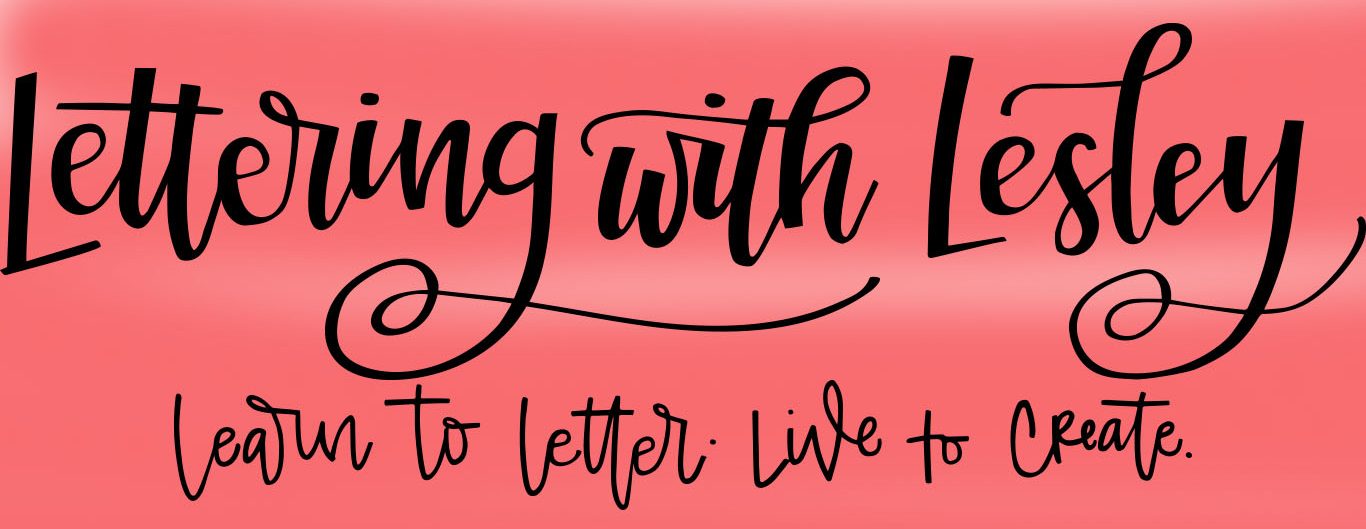
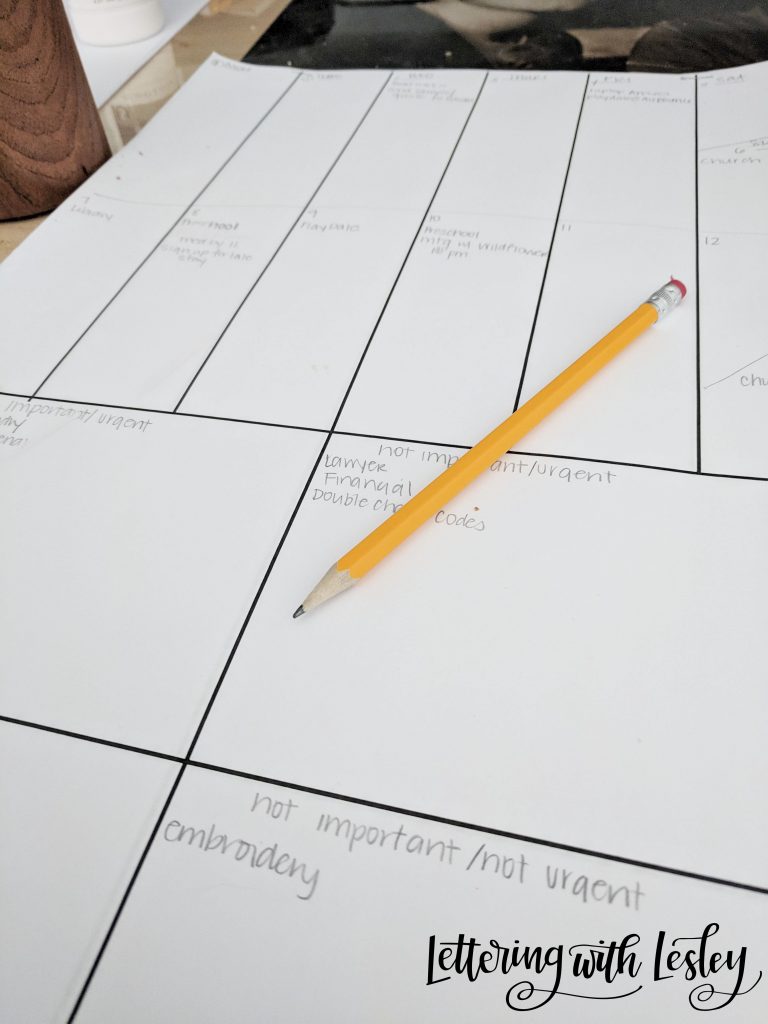
At the same time, I was taking a class about business and they discussed organizing your to-do’s by importance. I do remember reading about this in graduate school – I think it is a Steven Covey concept. But, the idea is to create four sections of your list – important and urgent items, important and not urgent items, not important and urgent items, and not important and not urgent items. At first I thought it was really ridiculous; I know what is important to do and who has stuff on their list that is not important and not urgent!?! And, then, in a moment of analysis paralysis (does this happen to anyone else?) I decided to put off all my work and sort my tasks onto a sheet of notebook paper. I was amazed that with the four shorter lists, everything seemed manageable and I didn’t accidentally overlook something that was super-duper important.
(On a side note, I attended MOM Con and one of the speakers talked about treating your time like you treat your money. It has changed the way I think about spending or wasting my time… It is a valuable an asset as my money!)
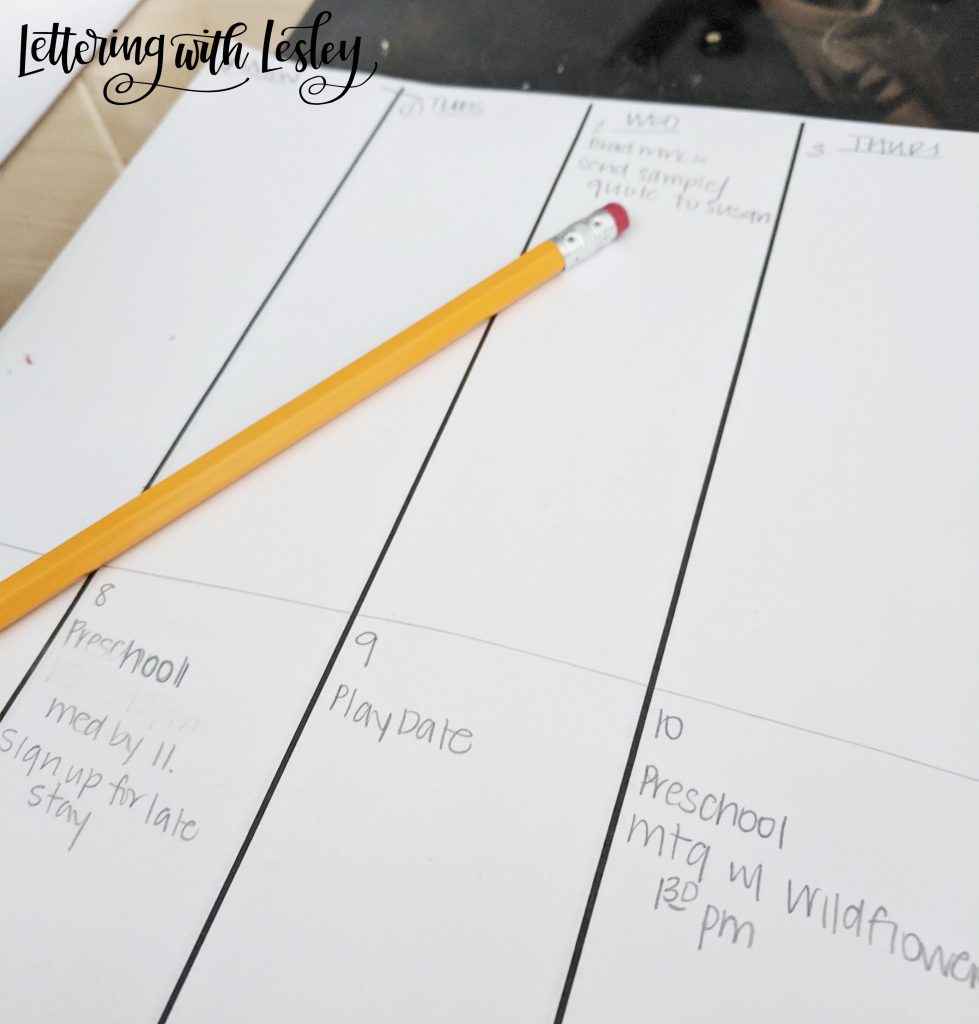
I realized that maybe the people who were really on the ball had a great idea! In order to cut down on the amount of junk and papers on my desk, I started adding it to the bottom of my weekly planner from Target. At 16 inches, it was really too long for any days to-dos, so the bottom third got re-purposed to create my four box list. Plus, I even have enough space to do two weeks at the top, for a little long range planning, and then the four boxes at the bottom.
I found this system really worked for me and on Sunday night, I created a new page for the upcoming week, copying any remaining to-do items and upcoming events. And then, the unthinkable happened, I got down to the last few sheets. I knew the bottom was coming soon and I knew that I wouldn’t be able to find it at Target again (it had been about 6 months). So, obviously, I hopped on Facebook and started begging. I politely asked both Blue Sky and May Designs if they had any extras lurking in the basement or if it would possibly be printed again. Unfortunately, the answer was no and I thought I was out of luck.
Operation-Fix-The-Hole-In-My-Process started with me drawing lines on a sheet of posterboard. And, as you can imagine, that lasted one week. Not fun and not convenient. I was wondering if I could create something in Photoshop, but I wasn’t sure about printing and I didn’t want to be piecing papers together. And then, by luck, I saw Engineer Prints on Pinterest. If you aren’t familiar with Engineer prints, they are very large prints (think 18×24 and up) that print VERY inexpensively at Staples. So, I hopped on my computer and designed a side by side two week spread. I uploaded it to Staples, print 15 and picked them up that afternoon! I cut mine in half to cut down on the desk real estate it takes up and they are the perfect replacement to my beloved desk planner!
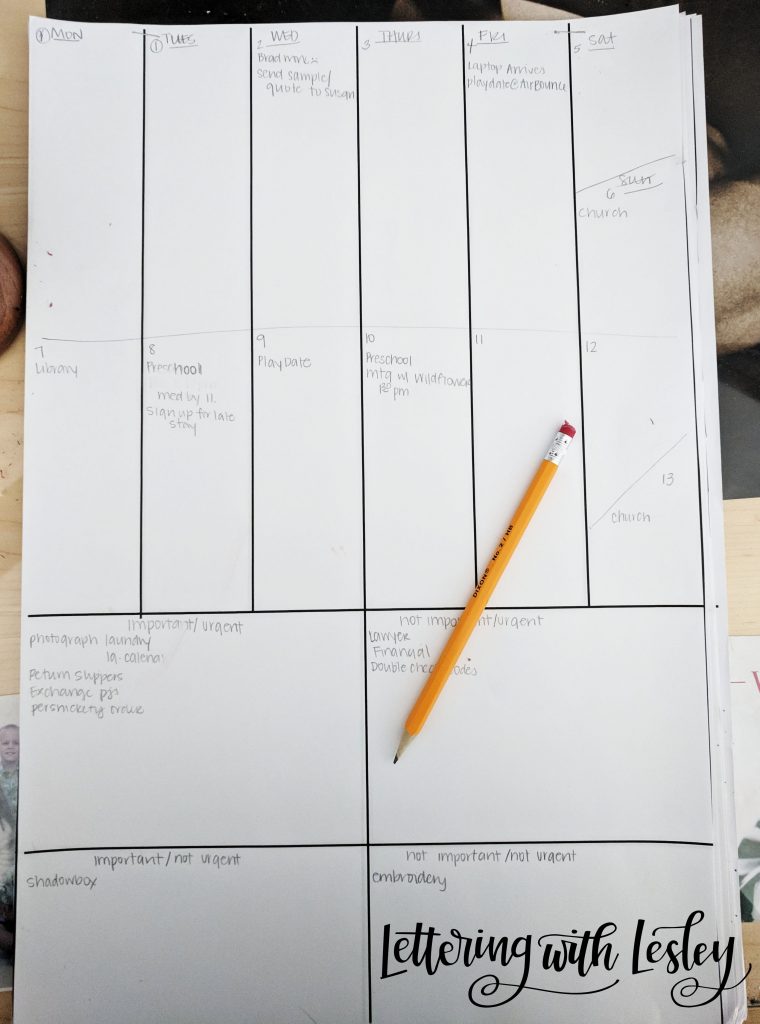
I have left my squares empty and unlabeled. This is so if I change my mind or categories in the future, I can just jot down what I want to add! I thought about creating my own tear away top using this tutorial from Pinterest. Ultimately, I decided just to use staples.
Want to grab yours? I have them in two sizes available in my shop FOR FREE! A large size perfect for engineer prints that print two weeks to a page and a smaller 8 1/2 x 11 size that you can print at home and be ready to go! These are the perfect size to drop on a clipboard, instead of adding backing, and be ready! They are available now in my shop and a great way to organize your work flow!
Go get your letter on!