Flourishing is one of those learned skills. I think some people are more natural than others and are confident swirling their pen around. For the record , I am not one of those people! It takes a lot of practice and muscle memory to develop fluid looking flourishes and embellishments. But good news! In several years of my quest to flourish effortlessly, I have a four tips and tricks that make the flourishing process easier!
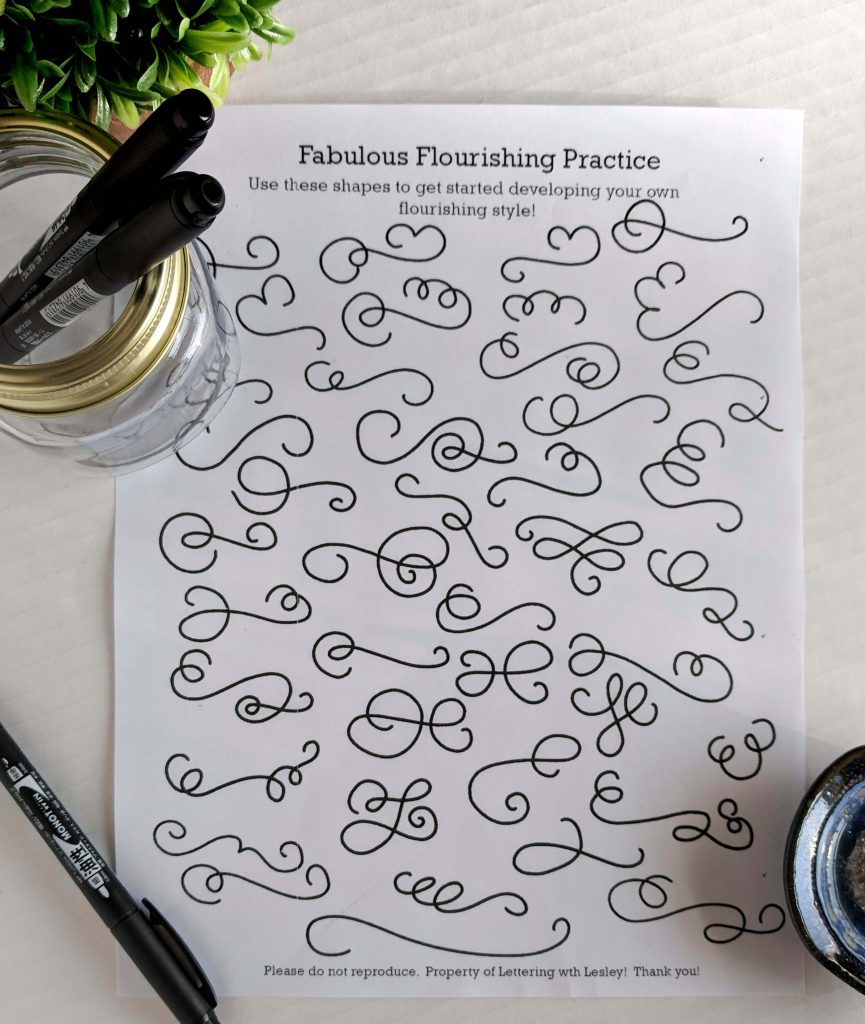
1 – Keep it round! Flourishing should always move in a circle or oval shape. It keeps things even looking and smooth.
2 – Keep it light! Keep the pen pressure light on your flourishes. I am always less is more when it comes to flourishing. And, I definitely want the focus to be on my letters. I really prefer to practice my shapes with a pencil or a monoline pen.
**If you do want to add thick and thin in your flourishes, be consistent and add your thick lines to the downstrokes!**
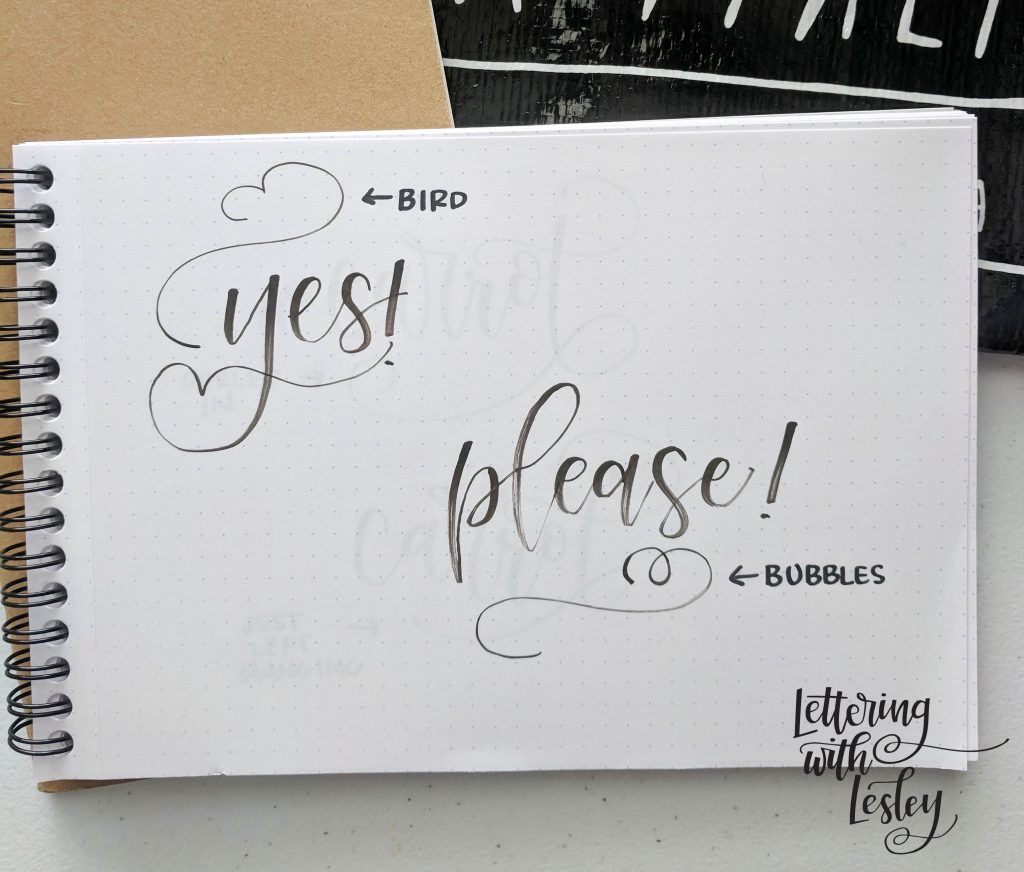
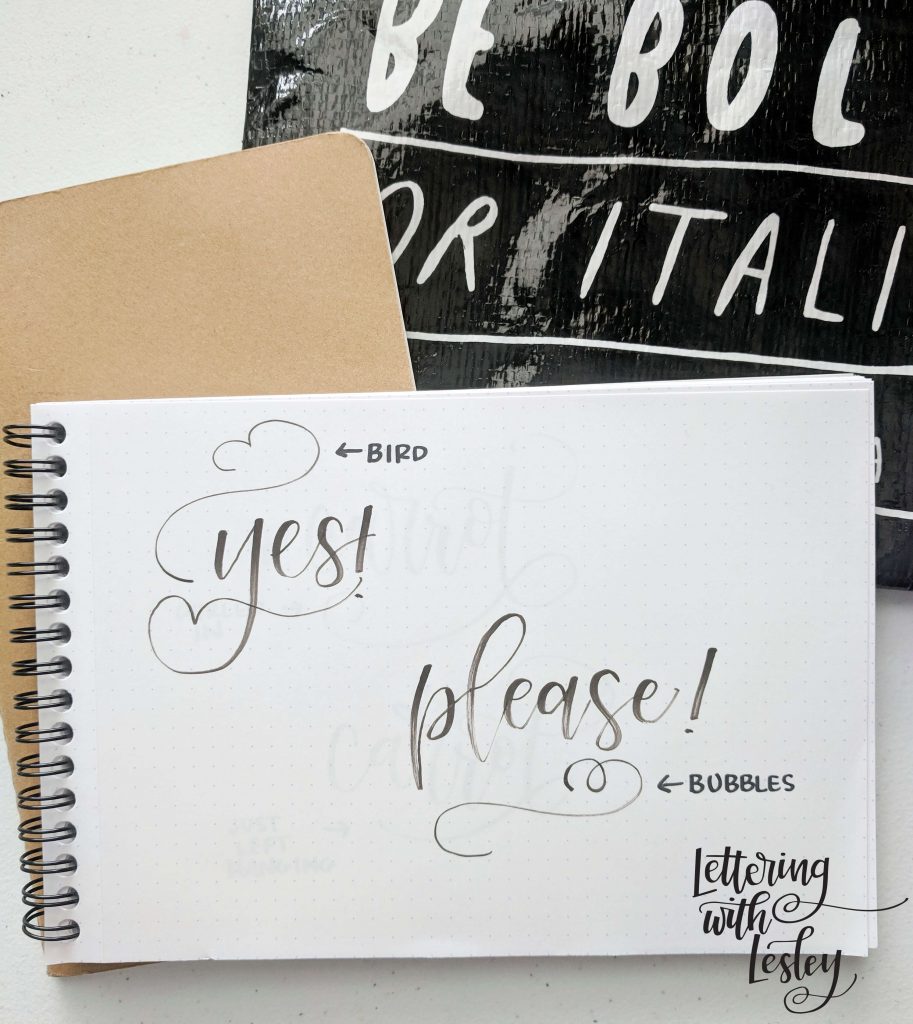
3 – Keep it consistent! If you are going to swirl or curl your flourishes, pick one. I like to think of them as birds or bubbles – see the picture below! If you do it one time, you need to do it at least one other time in your piece to make it look intentional. And, pick a bird or a bubble… but not both in one piece!
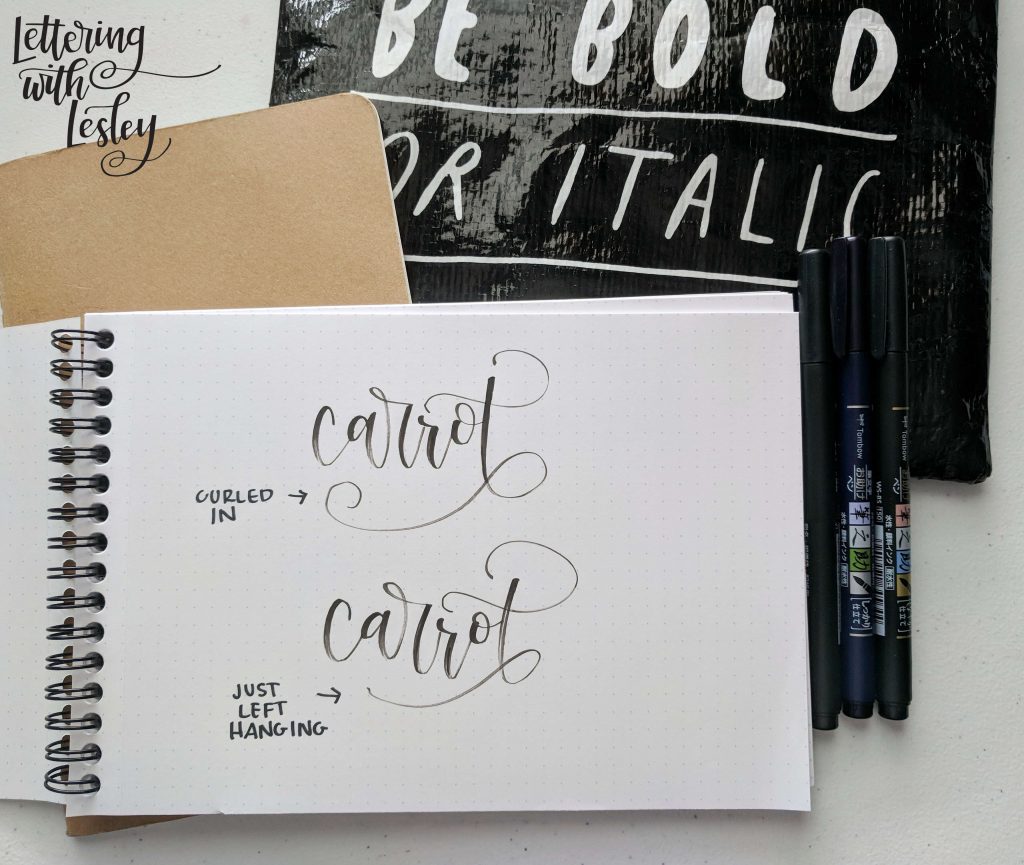
4 – Keep it wrapped up! When you finish your flourish, curl in the end. It makes the final line look thoughtful, rather than just running out of steam.
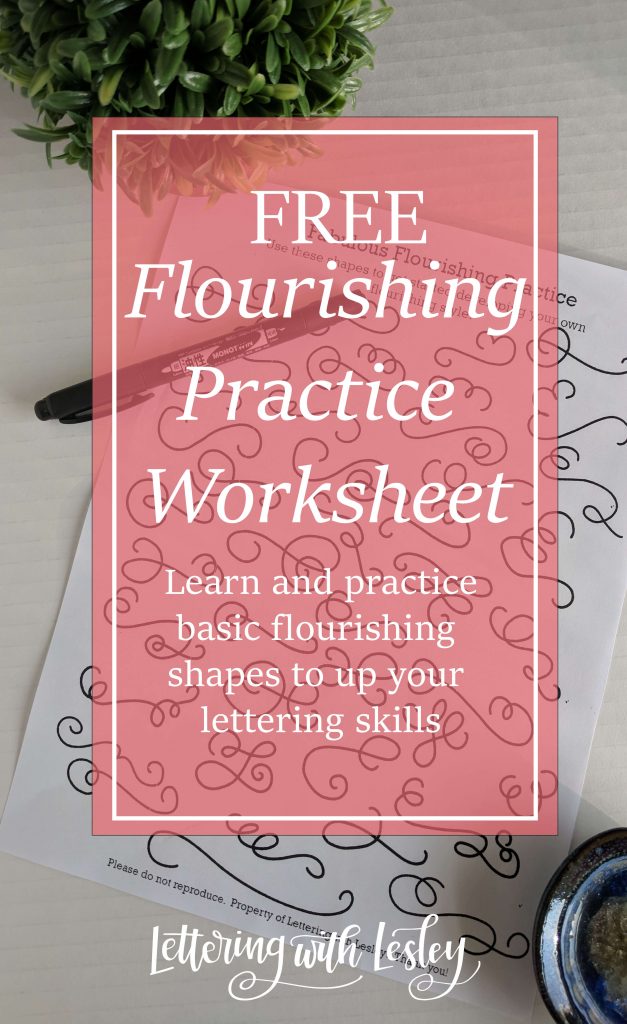
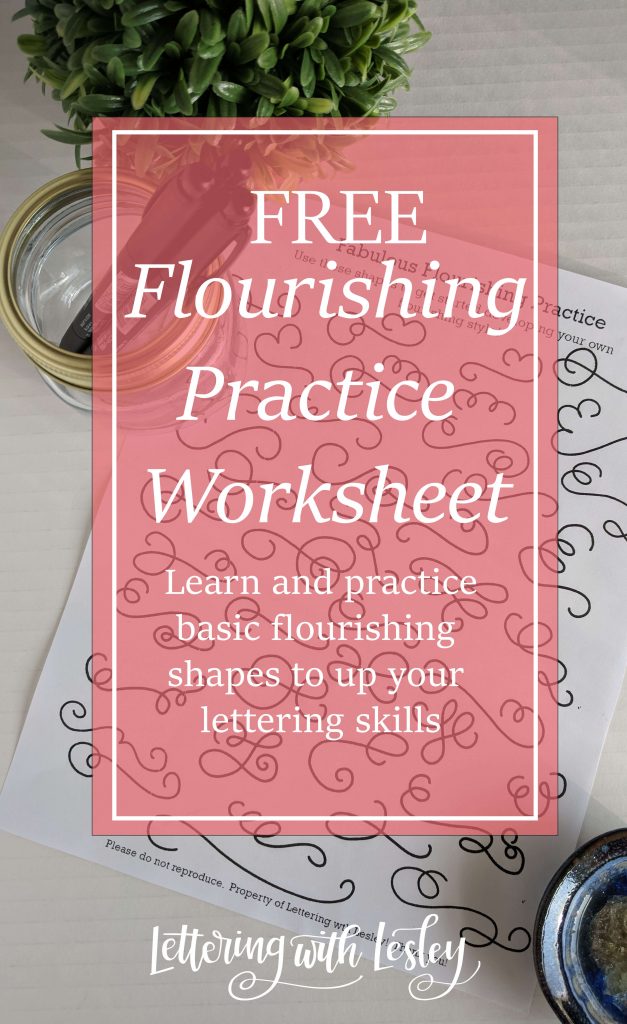
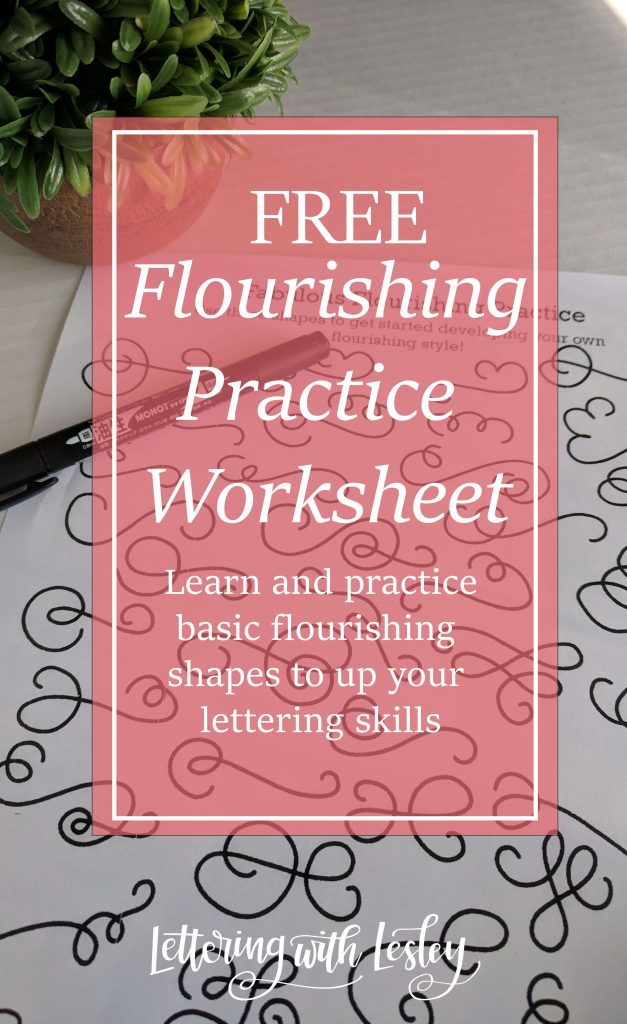
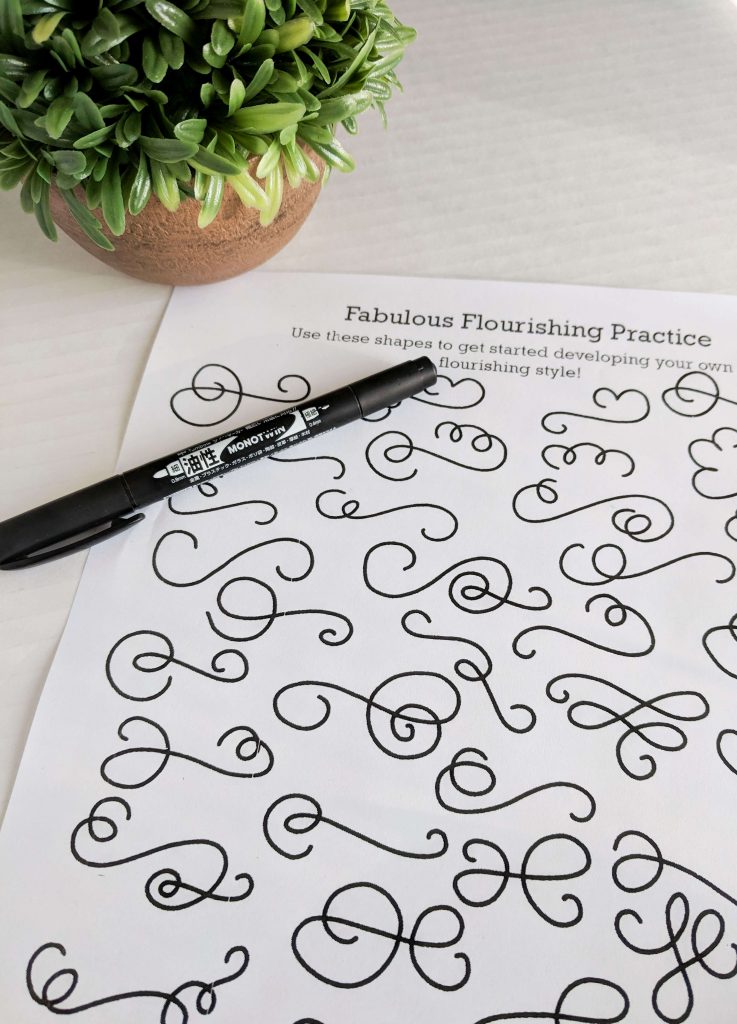
I also love practicing with these a flourishing worksheet. I trace over it many many times until I feel like I have the muscle movement down pat. I hate when I am mid-flourish and don’t know where to go next! Using this sheet until flourishes feel more natural and I don’t have to worry about the direction that they are headed!
You can download this flourishing practice worksheet for FREE! Check it out in my shop and grab a copy to print and keep with your hand-lettered things!
Go get your letter on!